The Ingrown Toenail Procedure: Excision of Nail Sides & Roots with Phenolization of Nail Growth Centres
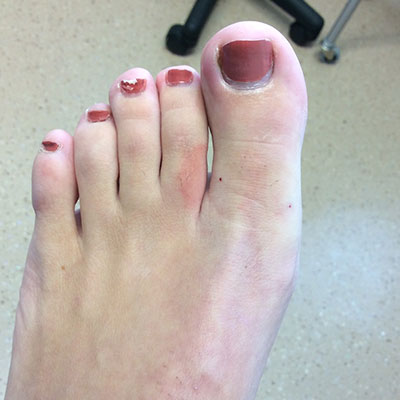
1. This young lady came to the clinic with a sore big toe, unable to tolerate closed shoes anymore. Not only sore, but red and swollen! Take a closer look at the red bulging skin just along the side her the big toenail. I mean the side of the big toenail closer to her second toe. But the patient came in at the right time. Just before bacterial toe infection kicks in.
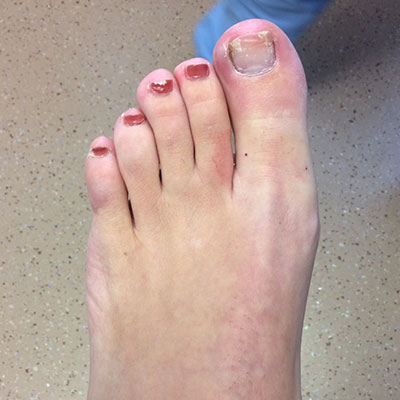
2. We removed the nail polish. Red and swollen tissues along sides and tip of the nail are showing up much better. The withish spots at each side of the tip of her nail are signs of a mild fungal nail infection. The goals of the ingrown toenail procedure is to fix her nail to prevent any recurring pain episodes with toe infection and to help her immune system to clear the nail fungus out!
Know what are the two tiny bleeding points at the base of the big toe? These are the exact two spots where we froze her toe. We used a small needle to kindly and slowly inject a local anesthetic. This patient shared that she barely felt anything. Why? Because we pay a special attention so you each patient get a positive experience. We ‘’cold spray” and freeze the outer skin before we introduce the smallest needle. We inject real slow not to create tissue pressure.
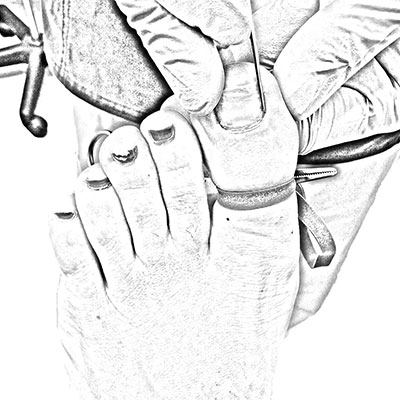
3. A blue sterile elastic has been clipped around the base of the toe. This is to prevent oozing to ruin the necessary tissue contact with the solution in charge to incapacitate the lateral growth centres. A blunt spatula is gently pushed against the skin to make sure the toe is numb enough. Here, the patient only had a kind of pressure sensation. But no pain at all!
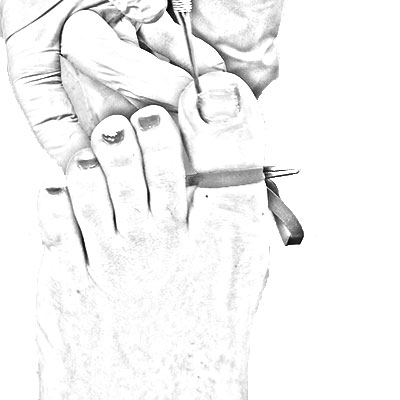
4. We then gently introduced the blunt spatula under the inner or medial side of the nail. It simply detaches the nail from the underlying tissues. No tissue is cut in any way.
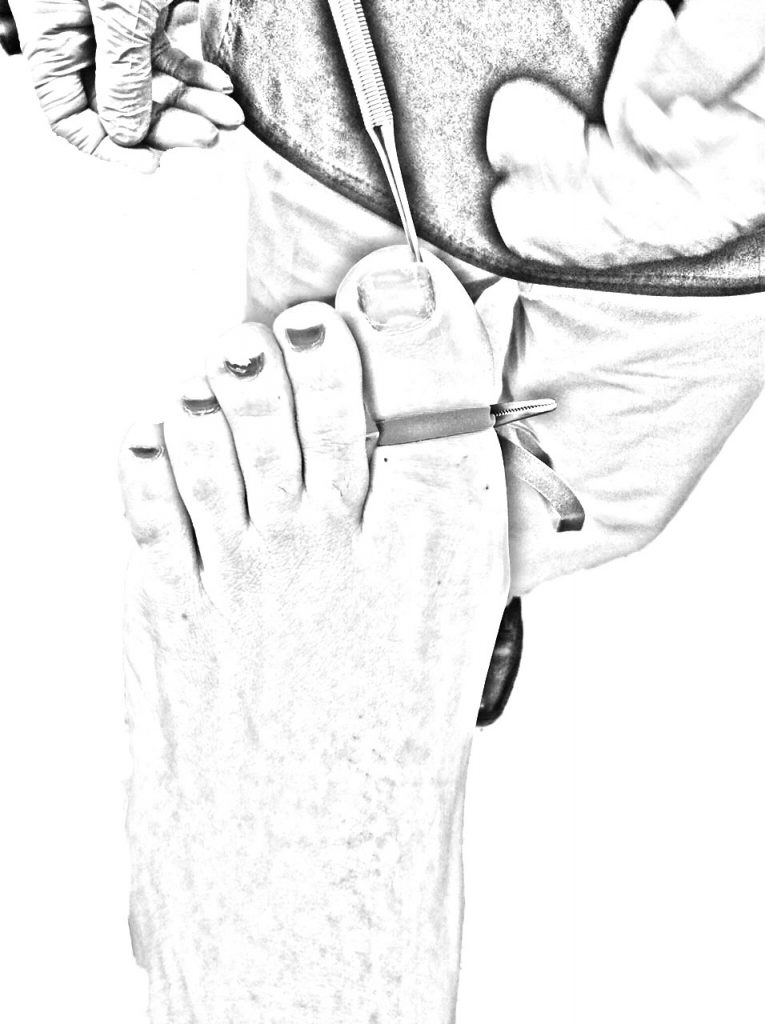
5. Same spatula under the outer or lateral side of the nail.
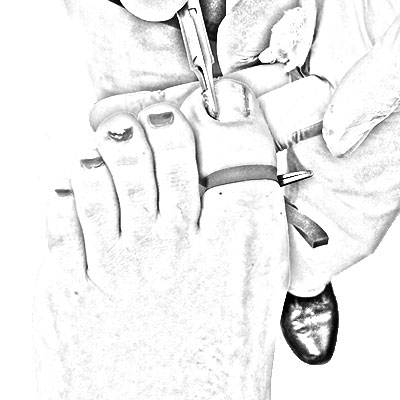
6. A special nail cutter was used to cut the lateral side of the nail.
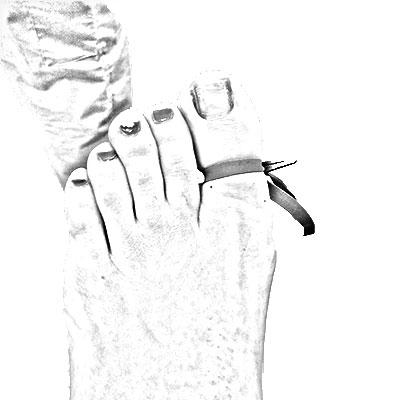
7. Both medial and lateral sides of this ingrown toenail are now cut.
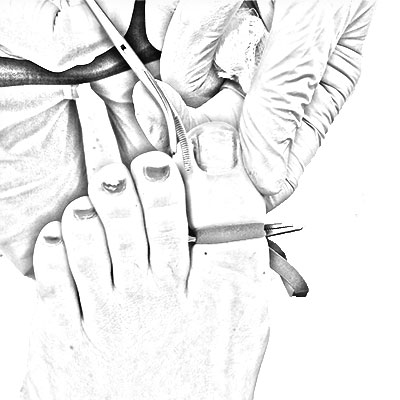
8. A curved nail clamp will be introduced to gently grab and rotate the offending nail side and its root outside the tissues.
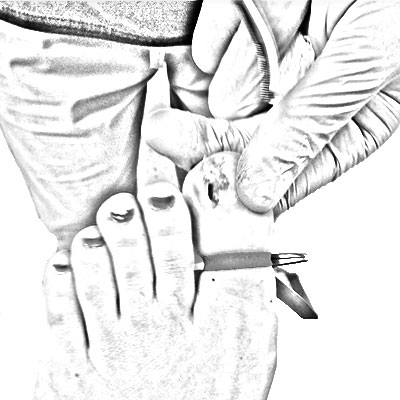
9. The underside of the excised nail side and its root are exposed. The root of the nail receives more blood vessels from the underlying growth centre. This why the base of this lateral nail side is a bit darker.
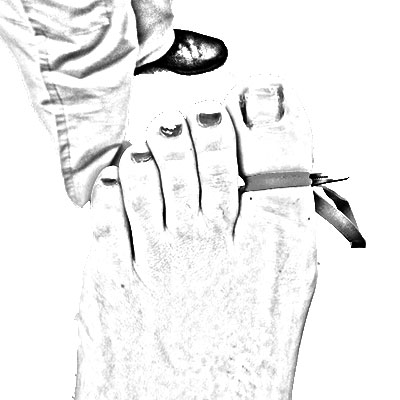
10. The ingrown lateral nail side and its root has been removed. We are left with the inner or medial side.
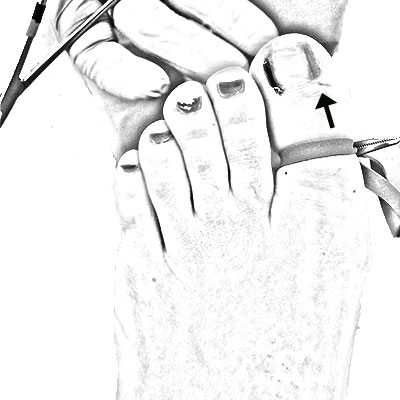
11. We have lifted the medial nail side and its roots out of the surrounding tissues at the inner side of the toe. See how
wide it is and how deep it was embedded into the tissues! See how big is the hook at the base of the root. No wonder it
was sore! As this nail is real thin, let’s look at another case.
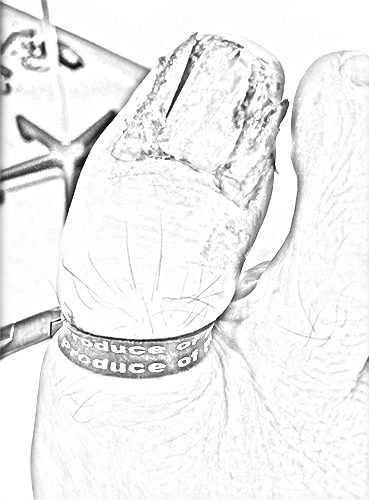
12. The nail sides of this right big toe had been cut. And twisted out of the surrounding tissue. Appreciate how big are the hooks of each nail side and root!
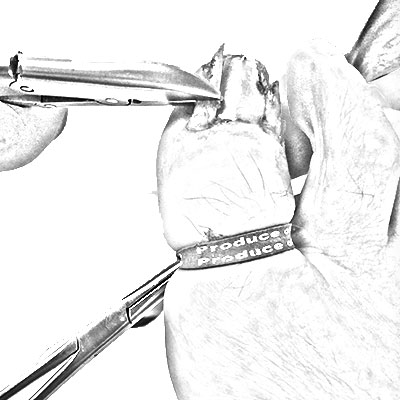
13. The exposed nail side is being cut.
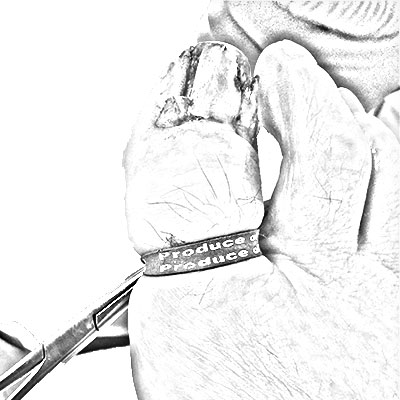
14. And removed.
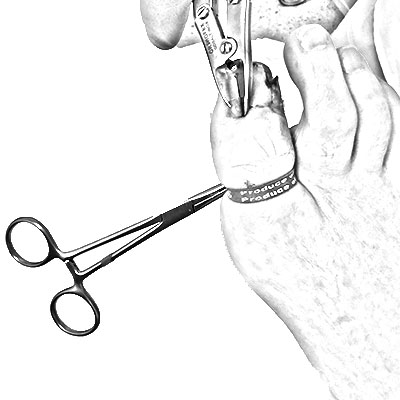
15. The root is now being cut.
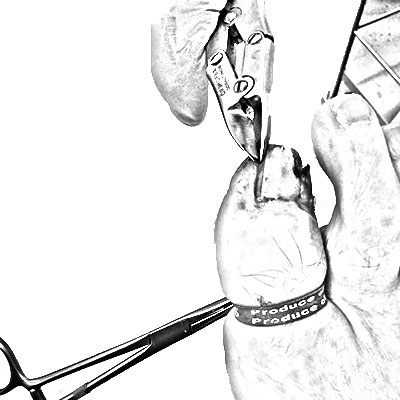
16. And removed.
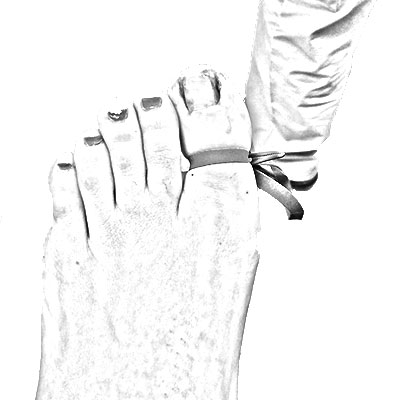
17. Back to the left big toenail of our lady. Both nail sides and roots are removed.
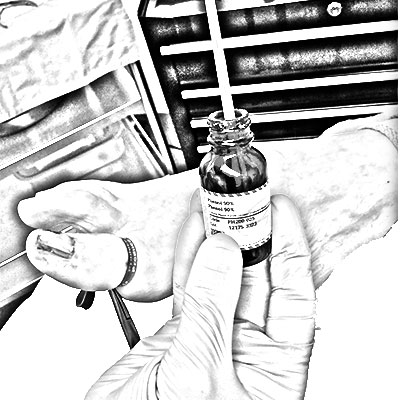
18A. It is now time for phenol application using sterilized cotton tips soaked into the 90% solution
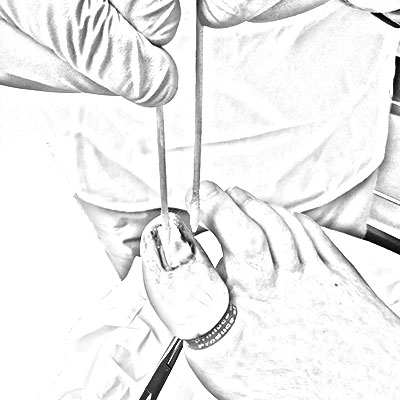
18B. The cotton tips soaked with phenol are on their way to be introduced down into the treatment areas.
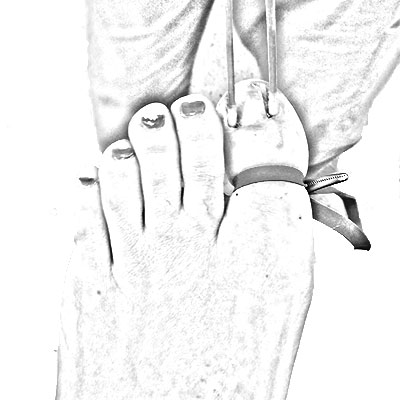
19. The phenol is applied to both medial and lateral nail growth centres for 90 seconds to ensure that the ingrown nail sides won’t grow back in again. Never!
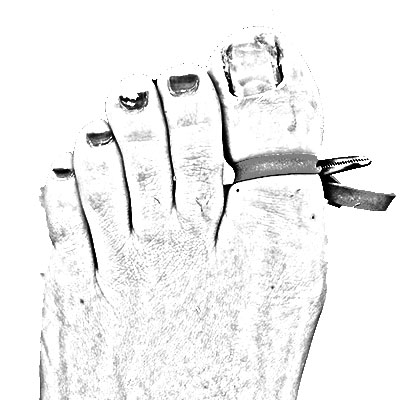
20. The phenol is an acid that neutralizes the cells responsible to grow the nail sides.
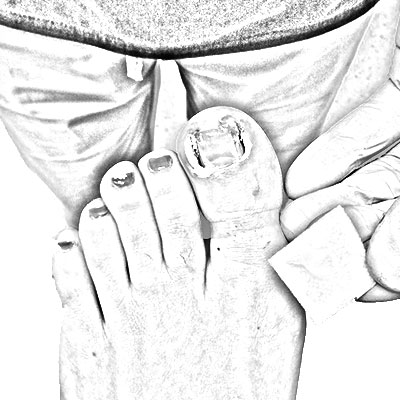
21. Proper phenol treatment makes tissues look white.
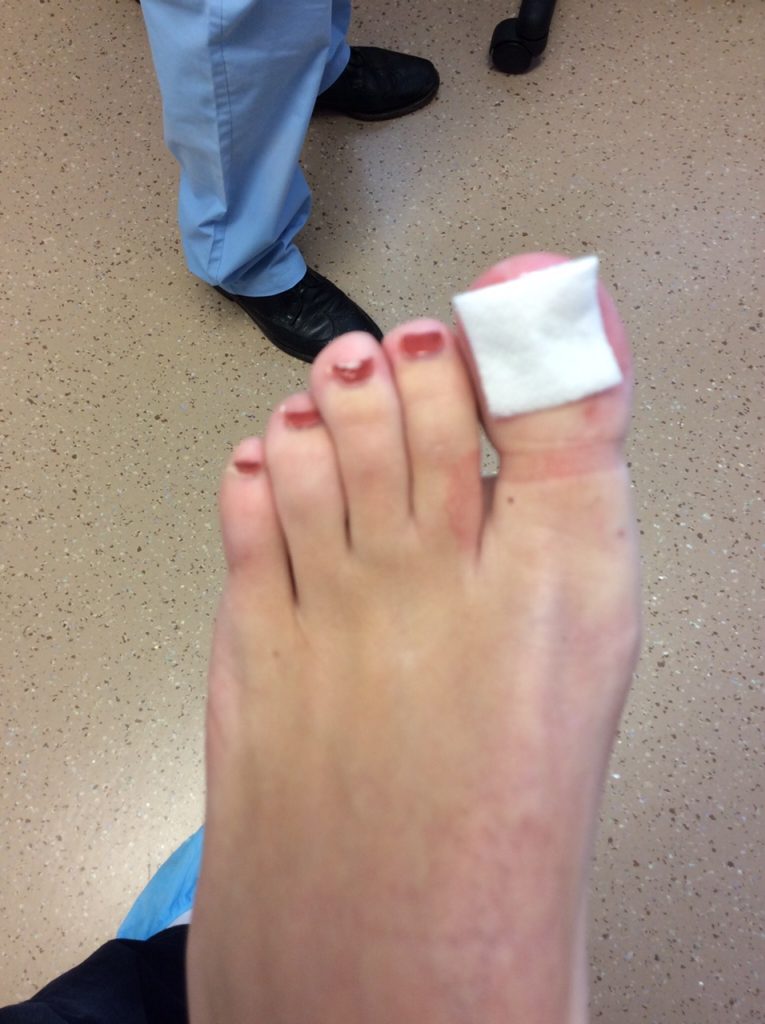
22. A sterile white non-adhesive tissue pad with antibiotic cream is placed right over the treatment area.

23. Sterile gauze is to be…
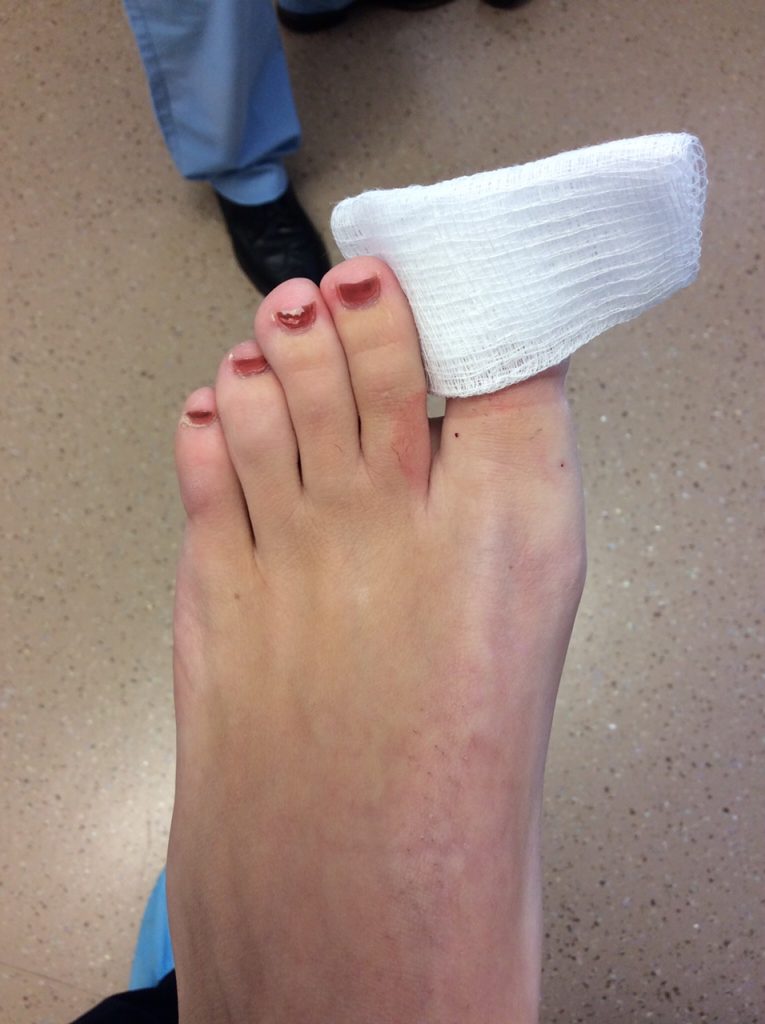
24. …placed.
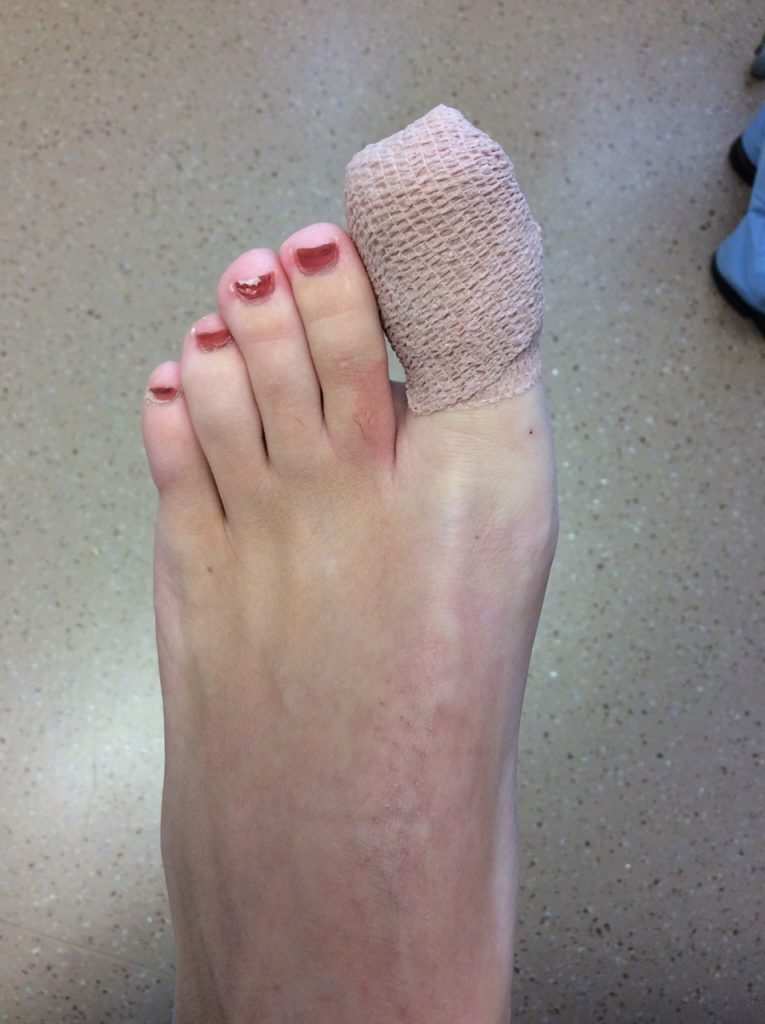
25. Then an elastic self-adhesive bandage is precisely custom-made all around the toe.

26. The bandage is secured to the toe using tape so it will keep it in place for the next 48 hours.
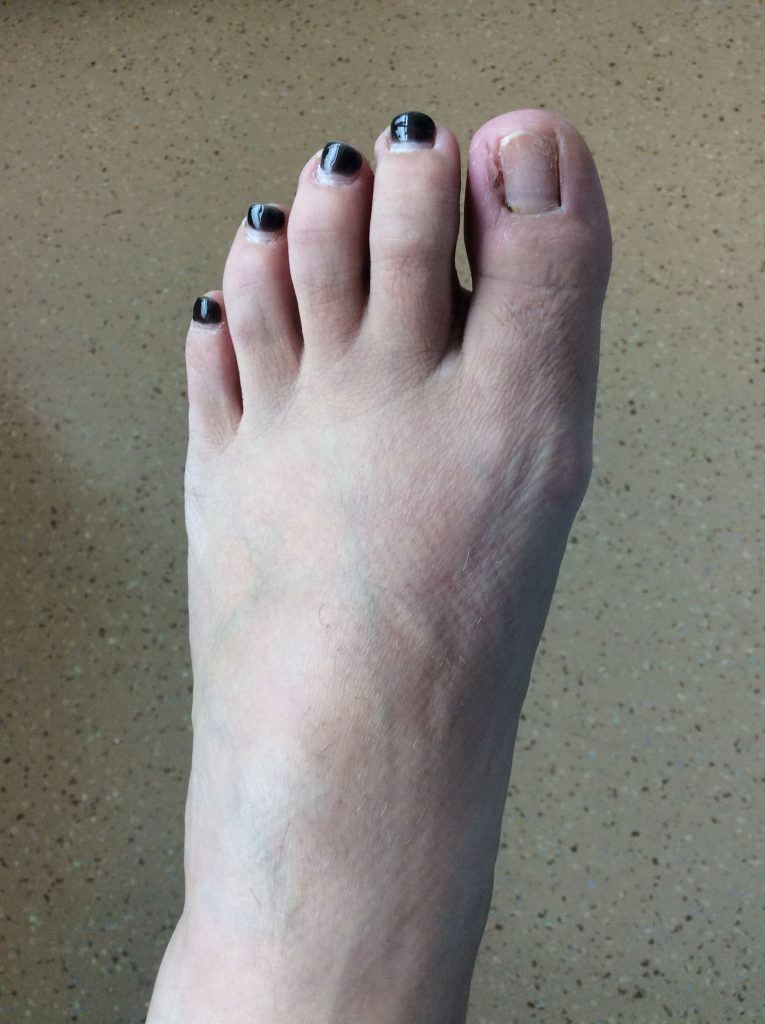
27. This is how the toe and toenail look one week after the completion of the ingrown toenail procedure. Here also, both nail sides and roots had been excised and the nail growth centres had been treated with a 90-second phenol application.
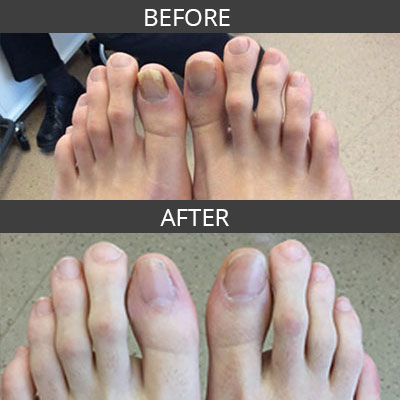
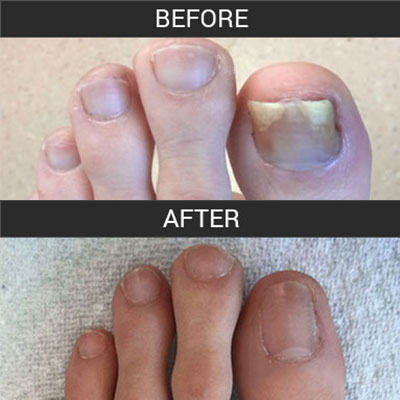
28. One year or so after, the newly grown up big toenail will just look great! Just as it looks on this second picture on the right. In this case, the before and after pictures were taken 14 months apart. No more ingrown toenail and no more nail fungus!
Please note that recurrence of a treated ingrown toenail condition may happen. Whenever it does, we repeat same chemical matricectomy procedure. Either with a second but longer 90% phenol treatment (120 seconds) or with a 60-sec application of a 10% sodium hydroxide solution.
Also note that severe fungal nail infection (where over 50% of the nail is infected) will require a concomitant series of antifungal nail laser treatments to be instituted a few weeks after the matricectomy.
